
Today I was asked by one of my customers to configure vCenter High Availability (VCHA) in his productive vSphere 6.7 U1 environment. Now that it’s been some time since I last configured VCHA, I first tested the process in my homelab. The following procedure shows how to configure and activate this feature.
Step 1: Set up the VCHA network
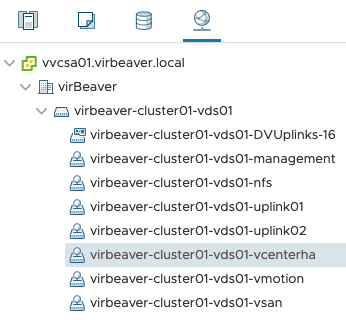
Before the VCHA cluster can be set up two things have to be prepared: A dedicated network for VCHA and IP addresses for the three vCenter nodes (Active, Passive, Witness). Both requirements are displayed to the administrator directly before the configuration of VCHA in the vSphere Client.

Since my homelab is a nested environment, the corresponding network can be set up without difficulty. In a regular customer situation where the ESXi hosts are connected via physical switches, the corresponding VLAN must be created and available on the switch ports before communication can function via the new VCHA network.
Step 2: Choose the VCHA network and deployment type
After clicking on SET UP VCENTER HA you can select the VCHA network for the existing, active vCenter Server Appliance (VCSA) and the deployment type. Because my customer is running only a single site with a single SSO domain I can leave the checkbox Automatically create clones for Passive and Witness nodes checked and let vSphere do the work for me.

Now I only have to select the Location (compute), Networks and Storage resources for the other two nodes (Passive and Witness) to continue with the second configuration step.

Configuring compute, storage and network resources for the Passive and Witness nodes
Step 3: Configure IP addresses for VCHA
After configuring the basic VM settings, only IP addresses in the VCHA network for the three nodes (Active, Passive and Witness) have to be assigned. With some support from the customer this should not be a problem either. Since the VCHA network is a private network that does not need to be routed, I do not configure the default gateway.

Step 4: Wait for completion
After a click on Finish our work is done and the next steps are performed by vSphere alone. First we create a clone for the Passive Node and configure it according to our specifications. Then the same is done again for the Witness node.

At the end we have two new vCenter VMs (Passive and Witness) in the environment.

In my homelab it took about 15 minutes until the VMs were rolled out and configured.

Also, a DRS rule that distributes the vCenter nodes across different hosts in my environment was automatically created and configured.

Wrap-Up
Since the introduction of vCenter High Availability with vSphere 6.5, the process of rolling out this great feature has become easier and more intuitive. In a relatively simple environment, the high level of automation makes it a matter of minutes to get VCHA up and running. And for more complex environments, manual cloning of the VCSA still remains.